Do you own an online store or an online booking site? Are you losing revenue due to problems with the availability and performance of your applications? If you want to make sure that everything is working correctly and not finding out about slow response times and downtimes from your clients, you can use one of our application levels of monitoring.
If you choose to use our performance or full-page transaction level of monitoring, one way to record and upload your transactions will be by using our transaction recorder extension for Mozilla Firefox.
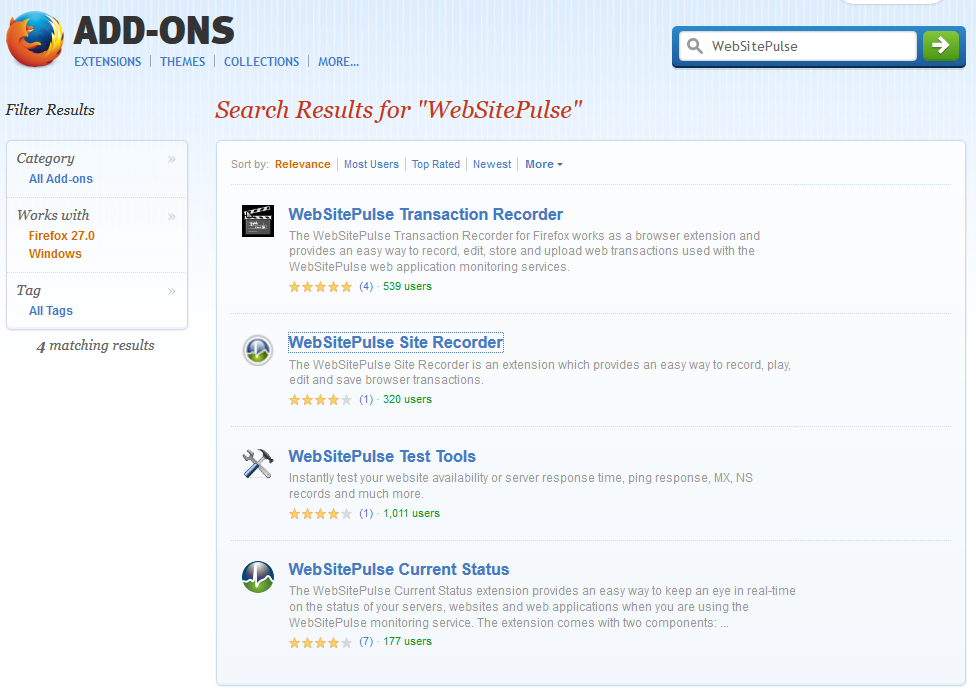
Firstly, you need to install the add-on. You can get it either from our website – WebSitePulse.com or from Addons.mozilla.org. If you search WebSitePulse, you will get 4 results:

So if you click on the transaction recorder, you will be able to add this extension to your Firefox browser.
Once you install the add-on, you will see the transaction recorder toolbar right above the tabs in your browser.

So, to start recording a transaction, all you have to do is go to the page from which you want to begin recording and press the Record button. You will be asked whether you want to start recording from the current page you are on. Click the Yes button.
This recorded transaction will record any request your browser makes. This means that if you have other websites opened in other tabs (e.g., Facebook, Google Drive, etc.), the recorder might accidentally record requests made by these other applications and add more steps to your transaction. So, to make sure you avoid problems that might render your transaction useless, the best option will be to close all other tabs and leave a single tab open when using the recorder extension.
Once you have started recording, all you have to do is follow the desired scenario for the transaction. When you are done, press the Stop button to end the recording. If you want to see exactly what you have recorded, you can click the Play button, and the transaction will be played in your browser.
If you are not happy with the results and wish to start all over, you can always press the Reset button and delete the transaction which you have previously recorded.
You can save the recorded transaction in an XML file on your hard drive by clicking the Save button. If for some reason, you are not able to record the transaction correctly by yourself, you can send us the specific XML file as well as a written description of the transaction, and our developers will review and fix the transaction for you. You can also use the Open button to open a specific transaction later on.
To upload the recorded transaction to your account, you will have first to fill in the options details.


 Copyright 2000-2025, WebSitePulse. All rights reserved.